Showing posts with label craft. Show all posts

Sunday, September 22, 2013

DIY Lampshade Chandelier!

Hello lovelies! Today I'm writing to you about this lamp chandelier that I have finally finished!!!

Here's what you'll need:
4 thrift store lamp shades
4 light bulb cords (the cord that is holding of the lampshades and holds the lightbulbs)
1 piece of wood
strong enough rope to hold at least 50 pounds
2 Hook screws that will go into your ceiling (weight average over 50 pounds as well)
Wire Strippers
Electrical box
Extension Cord
A box of doodads (I'll include a photo)
Exposed wire protectors
Electrical tape
Wire cutters
And a little bit of determination!

                                   these are doodads, I have no idea what their real name is.

Alright before we get down to all the details about this lamp project, I wanted to go over the basics for electrical wiring. I used to be really intimated by this but once you learn these two essential rules it will broaden your craft horizons!
1. Never ever ever ever wire different colored wires together. Ever. All you have to do is keep like colors with like colors. In this particular project my white wires were with white and black with black.
2. You never want exposed wire touching any sort of metal.

Those two rules will keep you from creating an electrical short...which is where the power goes out.

Now for the rest!
I had a left over piece of wood hanging around from when we built my dining table so I snatched that up and painted it with a couple different layers of colors we had laying around.
Then I drilled 4 holes thick enough to feed the cords through with some room.

I took off all the fabric on the 4 lamp shades I bought from a thrift store for about $10 total.
I fed the four corded light bulb strands (from ikea) through the lamp shades after cutting the male plug piece off. Then fed that through the holes in my 2x4.
I screwed the eye hooks into the ceiling where each end of my 2x4 would end up. Then put some sturdy rope through them. To get the height of the lampshades right, I put a temporary knot in the ropes and placed my piece of wood in them and started adjusting the cords with the lampshades attached. Once I got them to the heights I liked I tied knots in the cord on the topside of my piece of wood.
Then it came for wiring. I striped the black outer layer cord from light bulb strands to get to the white and black smaller cords.
Once I did this to all four cords, I fed them through my metal electrical box into each of the holes. Then when they met in the middle, I connected the exposed wire to their matching counterparts (white with white and black with black) and put an electrical guard on each group.
You can see the grey cord in the picture above. Thats my extension cord. I wired that together with all of my lamp cords and ran it down the 2x4 and down my wall to the electrical outlet. Thats how I will be getting power to my chandelier. Then I used my doodads to fasten each of the wires in place on my piece of wood. Once everything was set, I hung the whole thing in my temporary knots and fixed them into tight permanent knots. Which is how I got this lovely set up:
I really wish I had better pictures. You cant really see how awesome these edison bulbs are. I know I probably didnt describe  this very well so if anyone has any questions whatsoever I would love to answer them! Enjoy my pretties!!!

Xoxo
miss you always,
Shanna Elyse!


Tuesday, July 9, 2013

Unique Gift Wrapping Craft!


Shanna and mine's roommate was asked by a member of her family to make t-shirts for their yearly beach trip. Her name is Tara and she is incredibly talented. So she drew and screen printed these beasts by HAND!

They look a little something like this:


AMAZING RIGHT!? She also had to make twenty-eight of these bad boys. She then decided that she wanted to individually wrap each shirt because they're a surprise for the rest of her family. I felt honored when she asked me to help her come up with something cool to do for them. 

Here's what we came up with:


Now let's get down to business!

What you need:
  1. Brown Wrapping Paper - Target - $3.09
  2. Eraser - Target - $1.00
  3. Paper - Already Owned
  4. Stamp Pad - Already Owned
  5. Twine - Walmart - $3.00
  6. Xacto Knife - Already Owned
  7. Stamp Letters (optional) - Already Owned
  8. A Little Jewelry/Charm (optional) - Ebay - $5.00
Total: Around $12

Directions:

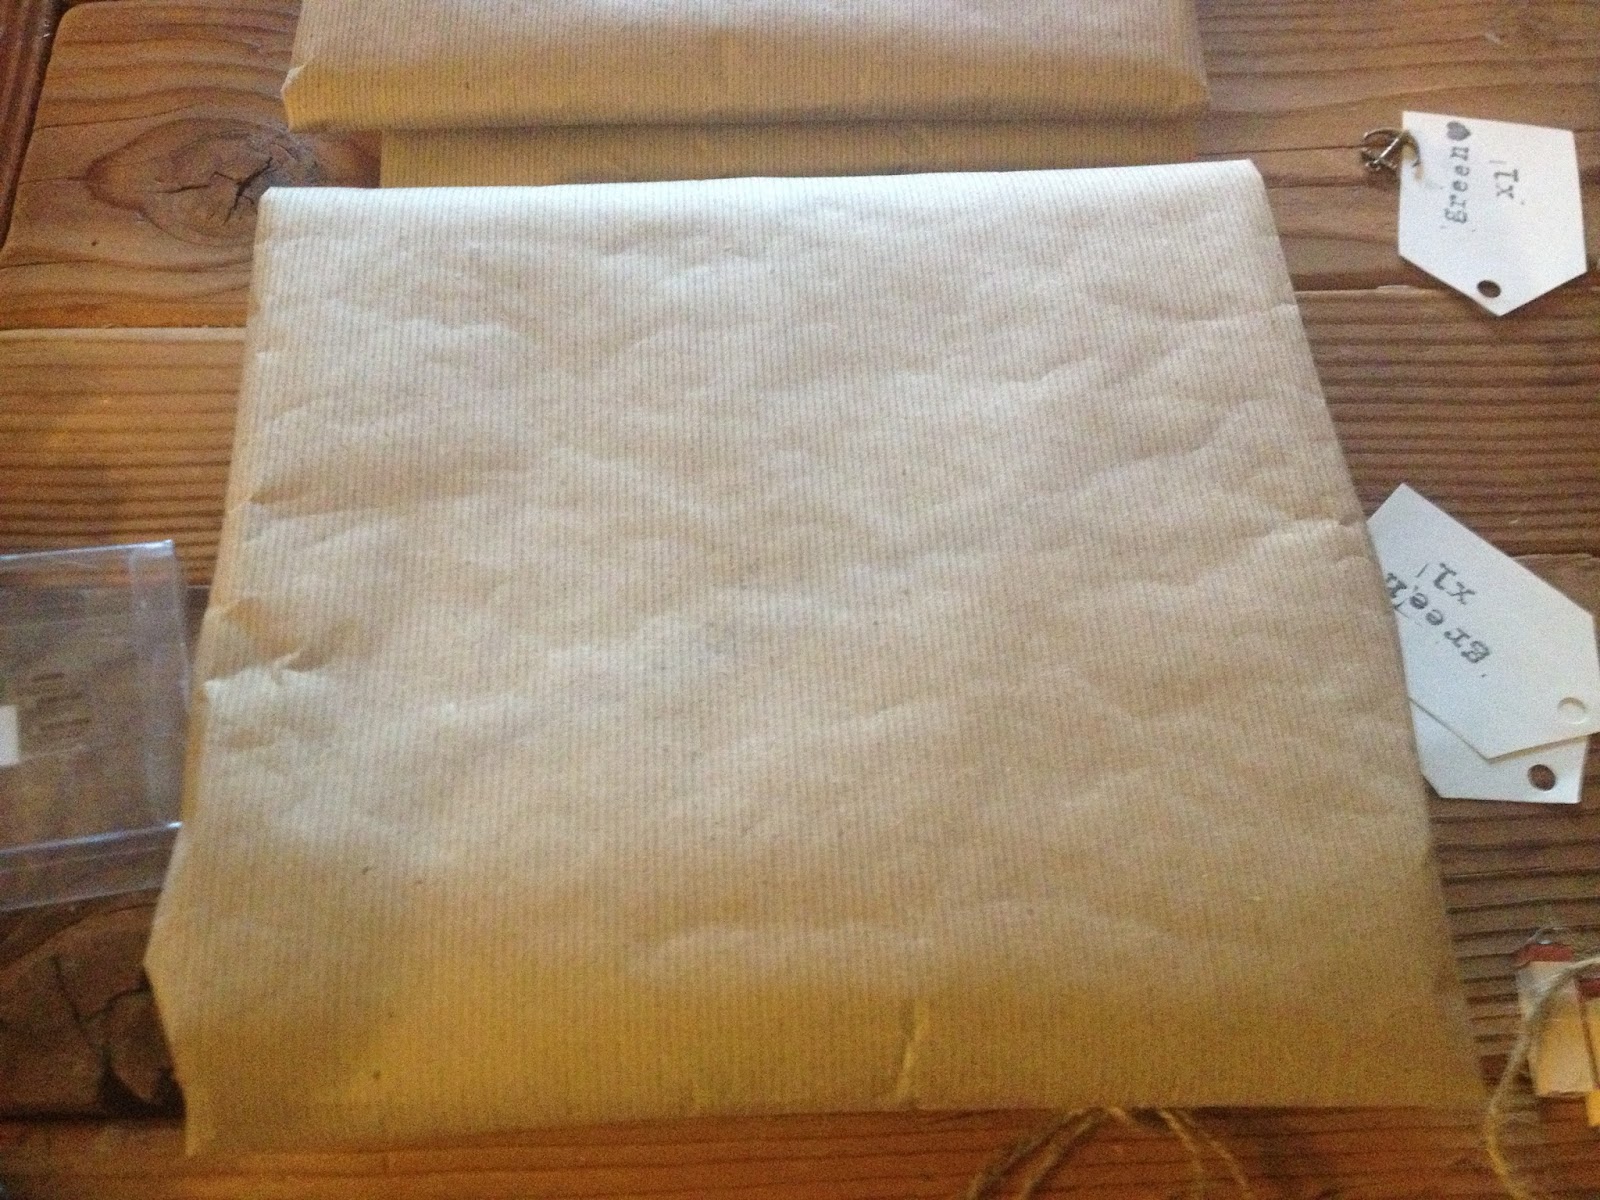
1. wrap the item in the paper. (duh!)


2. cut out your tags and stamp on it what you want it to say. (she needed a way to identify the shirts)


 3. wrap twine around the present, after tying once add tag and charm, and then tie again.


4. draw out the design you want on the eraser then cut down everything around the design to make your own custom stamp!! (Tara so magically made this one)


5. stamp it on your wrapping paper!


VOILA! Now you have a cute, personal wrapping paper! Happy Crafting!

Miss You Always,
Clarissa

Saturday, June 22, 2013

DIY Mannequin Post Board


Hey Guys!
  I'm writing to you about this little project I whipped up a couple weekends ago. My roommates and I went to a garage sale and picked up this mannequin for $25! After we brought it home I realized we were running out places to put things...So I decided to take all of our postcards and foreign money that I had posted up on our fridge and pin a makeshift dress on the mannequin.

All you need is:
 -sewing pins (I used white ones for a more cohesive look)
 -items you want to pin on your mannequin
 -a mannequin
 -and a decorative necklace!

I started pinning on one of the shoulders and just kind of played with the shape until I was happy with it. Sorry for the lack of instructions but sometimes its more fun to embrace your most creative side! Enjoy!


Miss you always,

Shanna

Friday, May 10, 2013

Comic Book Wall Art DIY

I was going through old pictures and I found pictures of a present I made for my step sister a year or so. While looking at them I thought, "This was pretty cool, I should share on the blog!" My step sister loves all things geeky ESPECIALLY superheroes. It's kind of cute how obsessed she is with it. Her main man is Thor. I went to the comic book shop and bought a Thor comic book for a $1 each! Then I went to Hobby Lobby and bought a canvas for $2! This wall art has a 3D punch to it too!

What you need:
-Comic Book
-Canvas
-Mod Podge
-Paint Brushes
-A Piece of Paper

1. Cut out comic book strips.
2. Mod Podge onto the canvas
3. Put more Mod Podge on top to make sure it stays nice and sturdy!
4. Cut out your favorite sayings/pictures.
5. Mod Podge #4 to a piece of paper.
6. Cut out those saying/pictures.
7. Cut a couple of little pieces of cardboard.
8. Mod Podge the cardboard to the canvas.
9. Mod Podge the sayings/pictures to the cardboard.
10. Cut the cover of the comic book and Mod Podge on the sides of the canvas.


VOILA! You have made a fast, cheap, awesome present.

Comic Book: $1
Canvas: $2
Paint Brushes: $2
The rest of the items I already had!
Total: $5
(But don't tell my step sister that..)

She ended up loving it and practically hyperventilating.

Happy Crafting!
Miss you Always
Clarissa

Tuesday, April 2, 2013

Late Easter Craft


 My friends and I dont really have any family out here in LA.  So I decided to create a new family tradition where we have a big feast for Easter. (Very out of the ordinary because all of us rarely cook...ever) I originally wanted to do an easter egg hunt but since I spent so much money on the food I decided against it.


Then I came up with the idea of a tiny Easter basket that still had surprises in them. So I pulled out some extra cupcake liners and some ribbon and just tapped ribbon to the cupcake holder. I bought some plastic Easter grass and some really cheap plastic eggs. Then I filled the eggs with candy and tossed in some jelly beans for decoration. Tada! cheap new Easter tradition that I love!

They looked so cute!


They also worked great on out table! I hope you enjoyed! Also here's an awesome picture of Tara and Clarissa at LAs modern art museum:


Hope Everyone is well!

Miss you always 
xoxoxo

Shanna

Wednesday, March 6, 2013

Reupholstering basics!

Hello Everyone!


 This post is to shed some light on a craft that I found really intriguing but nervous to pursue. Reupholstering! I had always been so nervous to take on reupholstering because of all the elements it required but once I broke it down it wasn't as intimidating as I thought!

Things you will need:

Fabric of your choosing to cover chair in question
Upholstery stapler (with staples)
Screw gun
Extra screws (these might not be needed but in my case they were)
I also needed spray paint for the legs of my chair, also optional
Fabric foam to be the padding inside your chair


Let's Begin!


This was the set of chairs I started on. I figured their shape was pretty simple and I only paid $20 for all four and a table. So first thing I did was disconnect the seat from the chair. 


You can see how gross the wood is on the bottom of the chair so I went out and bought some mdf to cut out new bottoms. I jigsawed them out using the old bottom as a stencil. After I took off the old fabric and foam, I used that as a guideline of how much I would need of my own material.

Layla decided to help


I sadly don't have very many photos of the rest of the process but I'll break down the directions:

*After using the old fabric and foam for guidelines for my new supplies (adding an extra two or three inches) I got ready to staple the foam to the bottom of the chair.
* When stapling the foam make sure you bring it to the edge of the chair and staple it in a way that the crease the staple is causing is minimal. The reason for that is because when you put fabric over it, you dont want to have a bunch of bumps that make everything look funky. You can space out the staples a couple inches apart. 
*After you've stapled your foam all the way around, its time for fabric! When you staple your fabric you bring it all the way around to the bottom of the seat instead of to the edge like we did with the foam. You need to pull it really taught so once again, there is no gathering. It's a trial by error process. 
*After you finish putting the fabric on the bottom you repeat the same process for the rest of your chair.  And viola! You've just reupholstered like a pro! 

I don't have a finished product shot of what I did with the table unfortunately but I had to sew the tops of the chairs to get a proper fit. Which is a whole other obstacle I won't get into on here! Here's what mine looked like in the end:

Well goodluck with each of your projects and if you have any other upholstery pointers I would love to hear them!


Miss you always,

Shanna
xo


Friday, February 8, 2013

DIY Instax Mini Case


If you didn't know the instax camera is all the rage at the moment. I have never owned a Polaroid but was always fond of them. So when my lovely boyfriend got one for me for my 22nd birthday, I was ecstatic! I've had it for a month and have already taken 20 pictures. I love the way they turn out and I love that I can instantly have the picture (I mean that's the point, right?). Anyways, I'll stop ranting about how much I love the camera and get to the main point of this post.

I'm reckless and clumsy when it comes to items that shouldn't be dropped and even though this camera seems pretty indestructible, I still wanted to take precaution. Especially since I'm flying to Florida in less than two weeks (EEEEK I'm going to see Ms. Abby!!).

I sat there for a couple of days trying to think of what the case should look like and I mean who doesn't love owls!? I had all the fabric I needed in my treasure chest, so I didn't have to go out and buy things. Which is good because I'm on a tight budget.

Items you'll need:
Fabric (colors of your choice)
Felt
Sewing Machine or Sewing Needle
Thread
Buttons
Velcro

1. Draw up a case design.
2. Cut out the fabric pieces. Also here are the measurements:


3. Pick your needle and thread.


4. Put Fabric in place, pin, and sew inside out!


5. Last, pick your eye buttons and sew those babies on!


Now you have this adorable case!

Miss you, always.
Clarissa